Description
Also, check out our other books and videos – Click here
Prerequisites And Requirements:
- You’ll need a camera that supports Focus Shift Shooting (Nikon Z5, Z6, Z7, D850, D6, D780).
- A RAW processor of some sort (Lightroom is used for examples, but is not required)
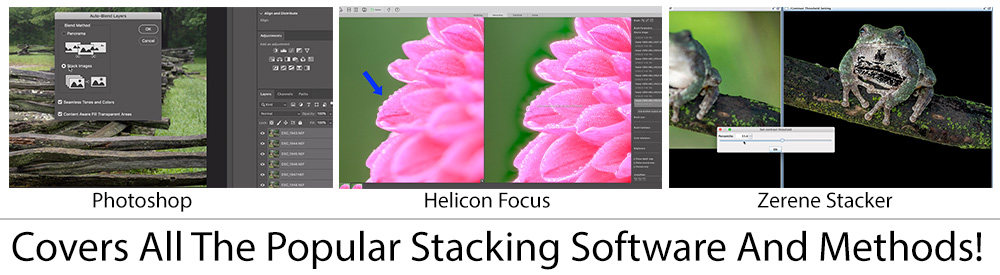
- Stacking Software. In this course, we’ll cover stacking with Photoshop, Helicon Focus, And Zerene Stacker. You don’t need these programs to use the course, but you’ll eventually want to have one for stacking. If you don’t know which to buy, you can take the course and watch the demos of each to see which you like best – both Helicon and Zerene offer free trials.
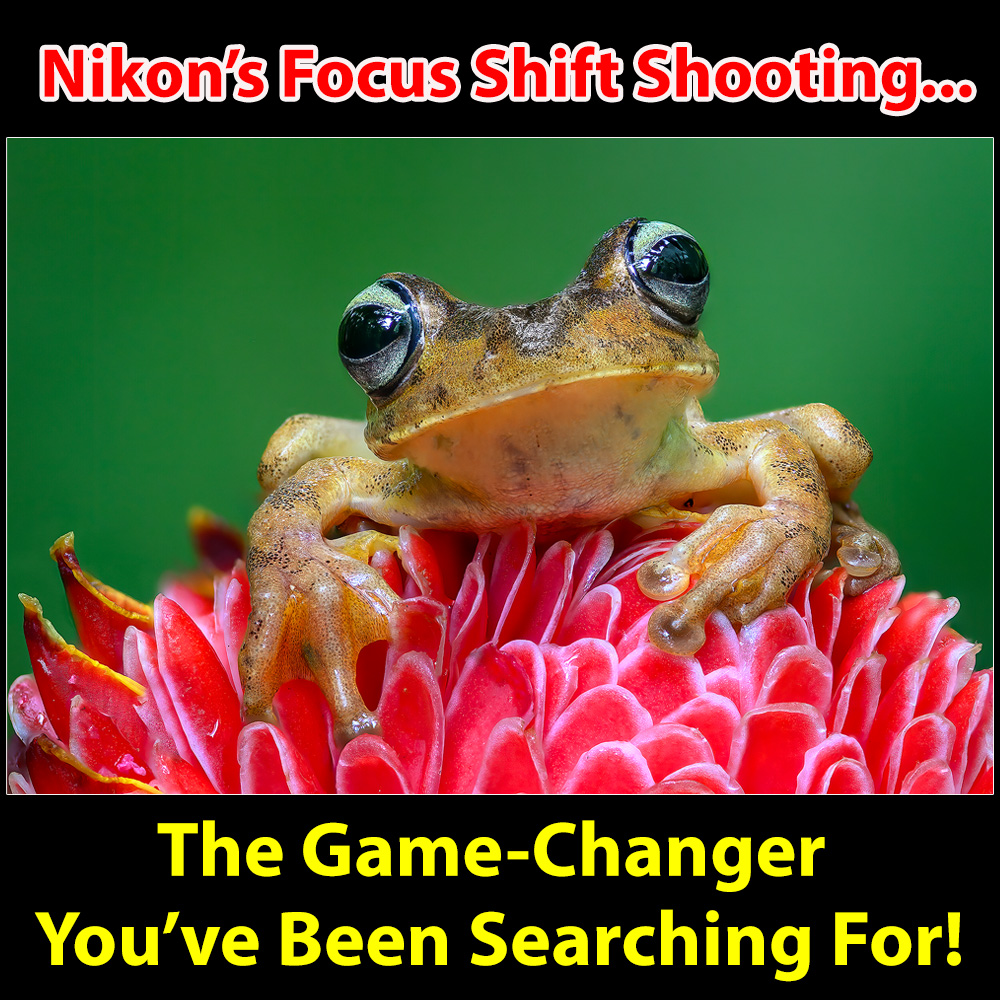
Nikon’s Focus Shift Shooting is probably one of the biggest game-changers in all of photography, but the truth is, it’s often a source of confusion and in turn, many people are hesitant to use it. However, once you unlock its full potential, you’ll start producing unique, jaw-dropping focus-stacked images that will, quite frankly, blow your viewers away! During our Costa Rica workshops, the stacked shots (using Focus Shift Shooting) always get the most stunned “oohs” and “ahhhs”!
The thing is, most people want to use Focus Shift Shooting but know very little about it – and Nikon’s instructions don’t make it any easier. Plus, even if you know what the menu options do, that’s just the tip of the iceberg – the BULK of what you need to know is field technique and post-processing. Worse, all of this is very specialized for this type of photography so it’s easy to blow once-in-a-lifetime shots.
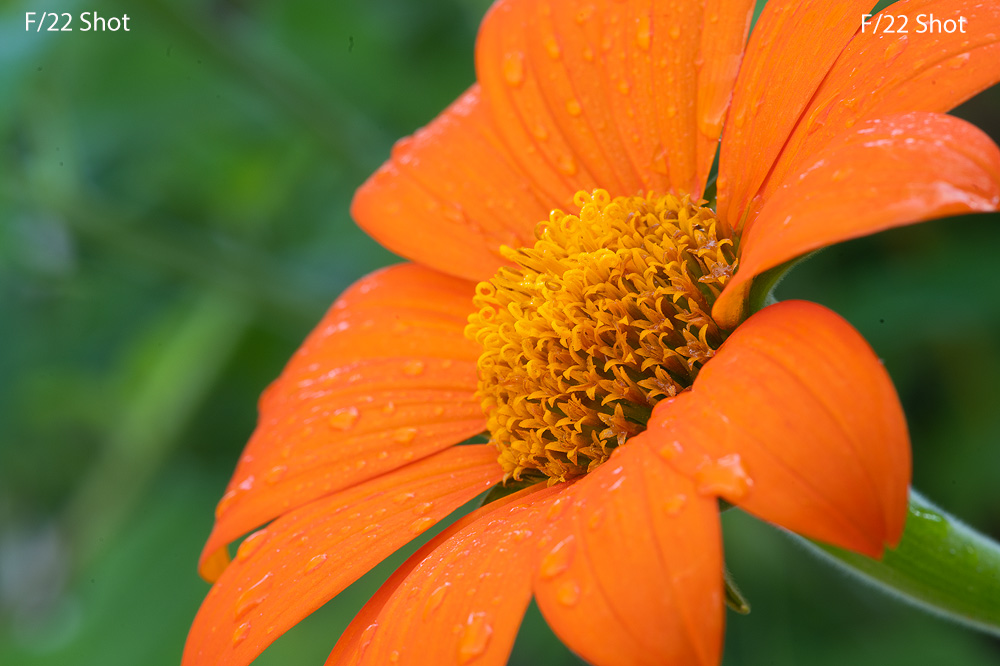
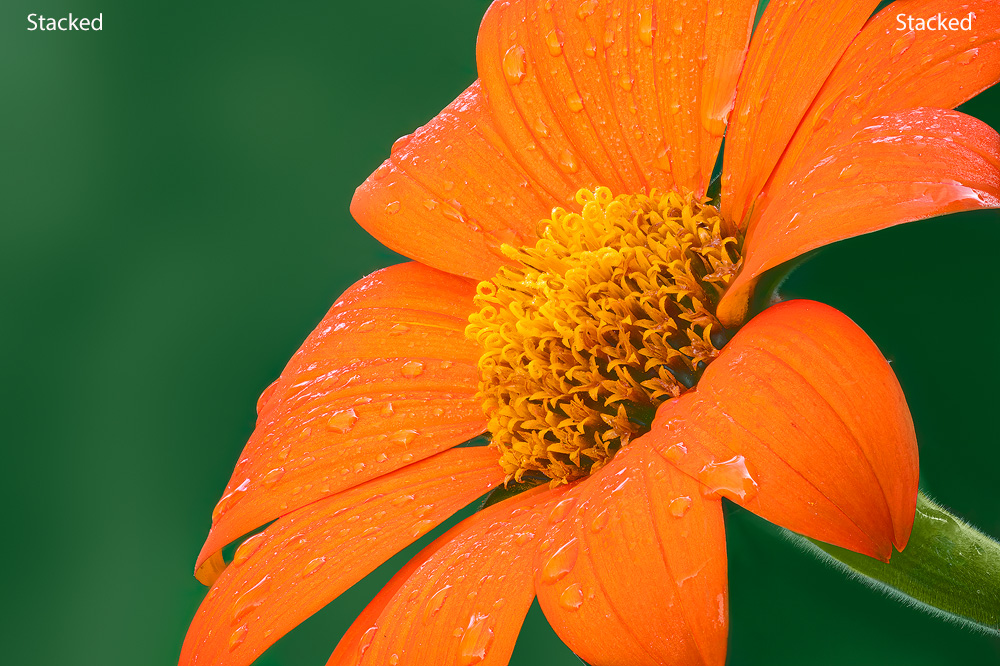
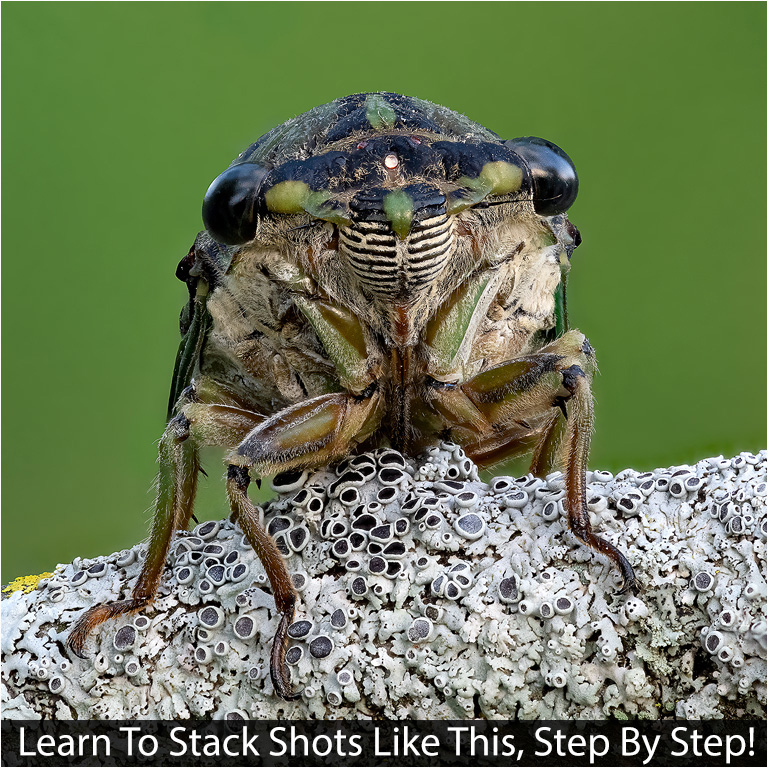
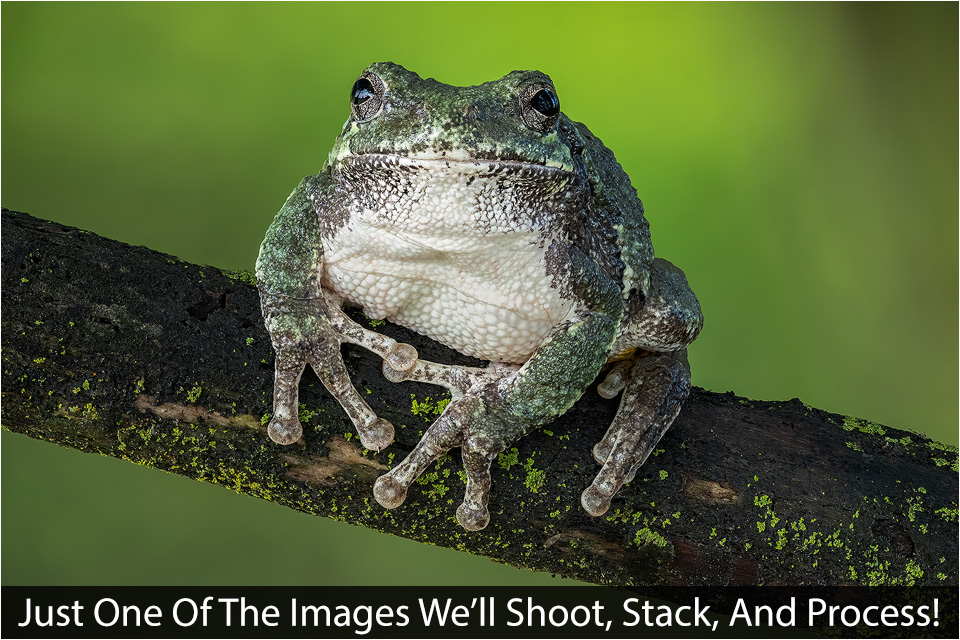
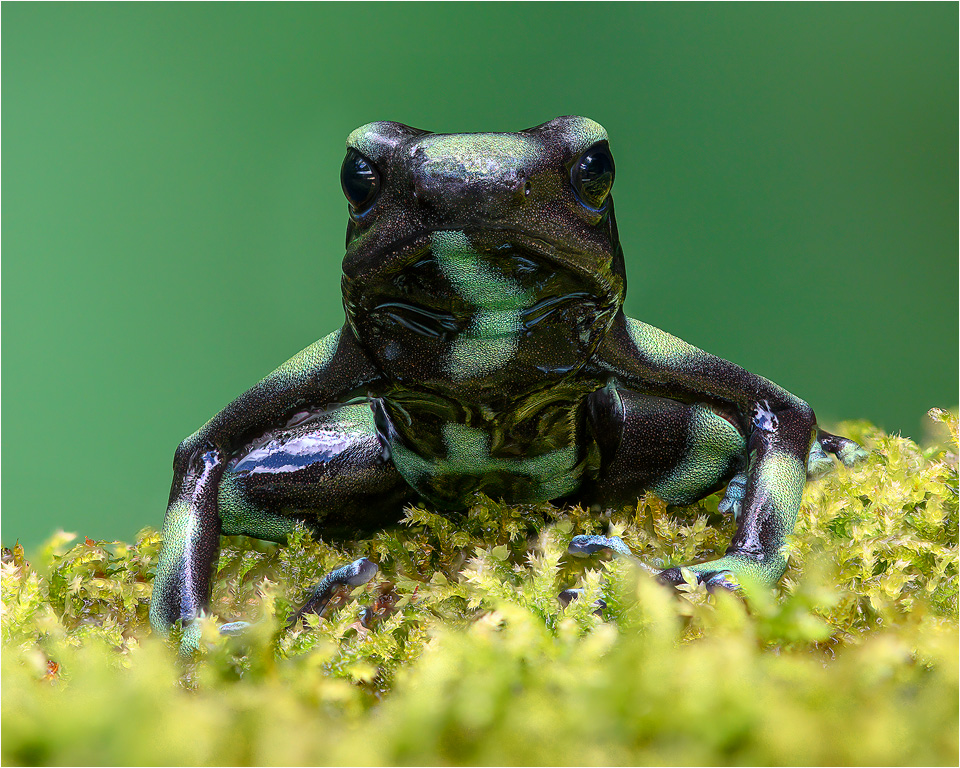
Wanna see the difference between a stacked and a normal shot? Check it out below! One was at F/13, the other a stack for the head / front legs area.


To get the most from Focus Shift Shooting, you need to know:
- How the Focus Shift Shooting menu options work.
- How to choose the right shutter speed, F/stop, and ISO.
- What field techniques to employ for the best results.
- How to prep your images for stacking.
- How to use stacking software.
- How to finish / retouch a photo once it’s stacked.
In short, 90% of what you need to know is NOT in the instruction manual – but it’s ALL in this video workshop (and more)! In fact, let’s take a look.
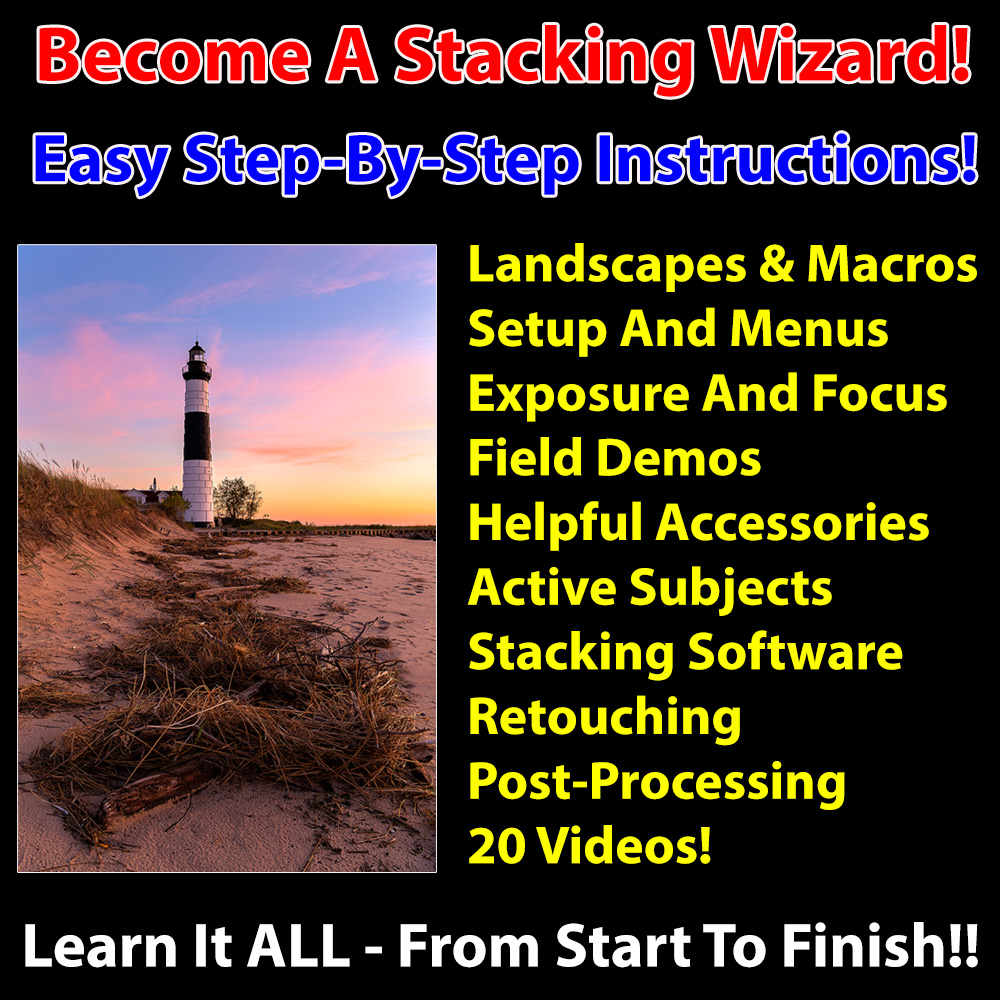
This course is in two sections and ten topics. There are a total of 20 videos, some long, some short, but broken up by topic so it’s easy to find or rewatch the info you need. In total, you’re getting nearly six hours of information-dense, field-tested content in this video workshop!
The course itself is online (with the option to download the videos) and designed to be incredibly easy to follow. You can mark your lessons complete once you finish so you’ll always know where you left off. Plus you can stream the videos with ANY device anywhere with an internet connection! Watch on a tablet or phone as you create your own stacks in the field and even do the same as you stack on your computer at home!
Master The Fundamentals Of Focus Shift Shooting
In this section, we’ll cover everything you need to know to create amazing focus stacks using Focus Shift Shooting. You’ll discover what focus stacking is, how it allows far sharper images with deeper depth than just stopping down, and how to recognize situations where you should – and should not – use it. Oh, and this covers BOTH landscape and macro use!
Next, we’ll cover what exposure modes work best and which to avoid at all costs. You’ll learn how to choose the ideal F/stop in any stacking situation. We’ll discuss why sometimes you want to use the sharpest F/stop on the lens and why sometimes that’s a terrible idea. You’ll uncover the best way to choose the best shutter speeds based on the scenario in the viewfinder. You’ll even find out when you should use a low ISO and when it’s OK – and even smart – to go higher.
We’ll also discuss tripods, windy days, lens types (what works, what doesn’t), VR (yes or no), composition problems, image alignment, keeping part of the image from getting hacked off, and so much more. Oh, and if you’re a macro shooter, I’ll share the secret of getting amazingly clean backgrounds that are the envy of any “regular” shooter!
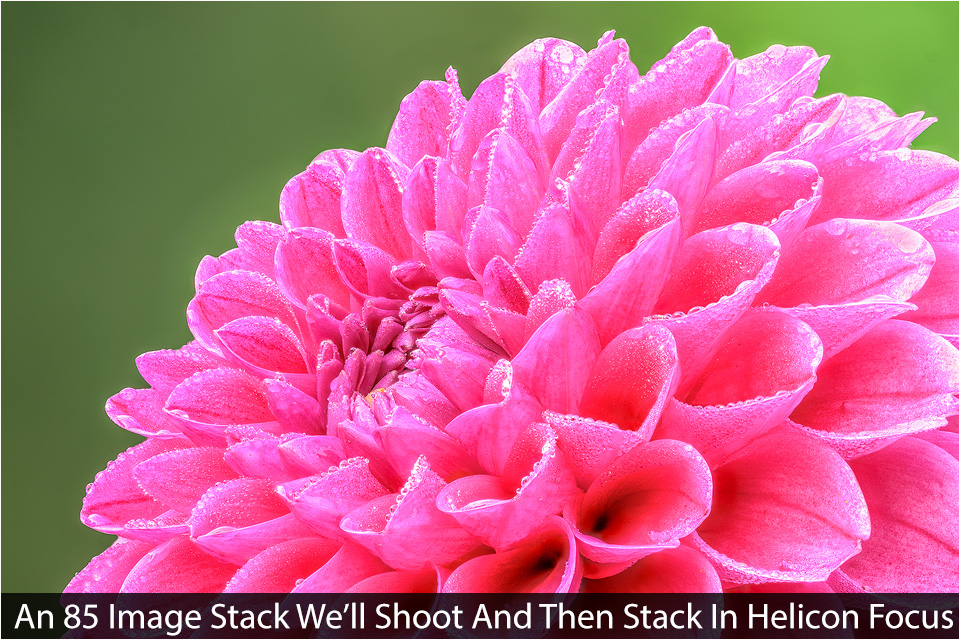
(The background in the stacked image below was NOT altered – it’s just the difference between a stacked shot and an F/22 shot.)
Focus Shift Shooting also allows us to stack faster than ever before. We’ll talk about the advantages in both landscape and macro work and how to use our exposure settings to “supercharge” the engine – getting the stack on your card even faster!
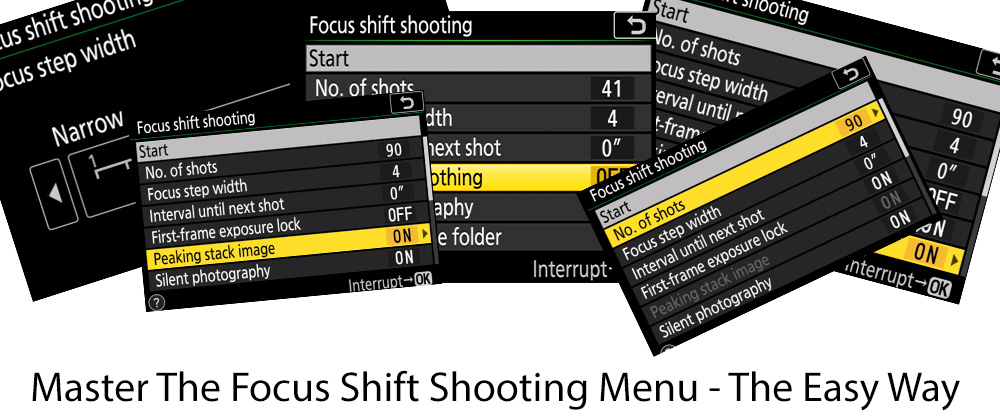
Finally, you’ll learn how to master the Focus Shift Shooting menus. We’ll cover EVERY setting – and not just what it does, but why and how to set it for different scenarios. You’ll learn truckloads of tips and tricks along the way that will help you every time you’re out shooting. Let’s face it – the menu options for Focus Shift Shooting are intimidating, However, in less than 12 minutes you’ll know EXACTLY how to set and leverage every one of them to your advantage!
The truth is, if you don’t fully understand these fundamentals, you’re heading towards a lot of focus stacking frustration! I’ve watched people miss incredible photos simply because they didn’t have the proper knowledge.
Field Techniques And Demos
This course also includes field demos! One demo is for a typical landscape and two are for different macro scenarios!
In the videos, you’ll see EXACTLY how to work in the field to consistently create amazing focus stacks. I’ll take you through every step and explain everything I do and why. I’ve recorded the back LCD of the camera the entire time (direct record, HD) so you’ll see what I see. It’s like we’re both on location and I’m taking you step by step through the entire process!
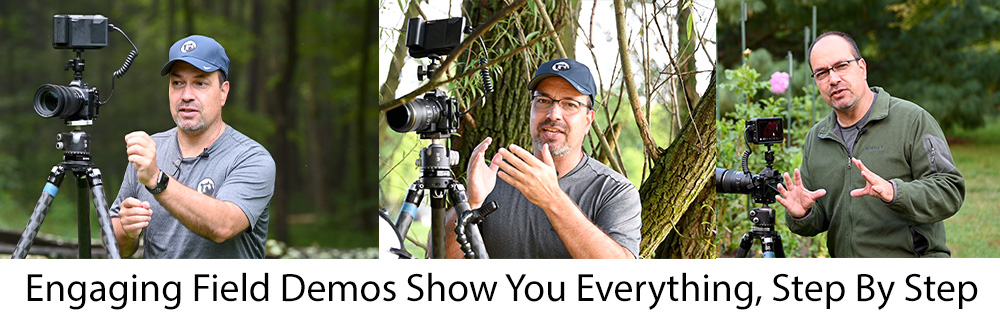
I’ll show you how I set up beforehand, why I choose the setup I do, how I configure the camera and lens, the critical accessories I use, how I manage wind, and more.
You’ll discover how to balance F/stop, shutter speed, and ISO – and most importantly – why and when you should make those choices. You’ll see how to use the live histograms for perfect exposures. You’ll discover the best way to focus (there are more than a few tricks to it), the critical thing you MUST do as the camera is shooting, and the easiest way to verify you have it right. You’ll even learn what to do if you didn’t have the camera take the right amount of images (hint – you don’t have to start over)!
There are a TON of things you need to do properly in the field for the best results and I take you through all the fundamentals, step by step.
Stacking And Post-Processing
Finally, we’ll talk post-processing – you know, the part of focus stacking that keeps most people from ever trying it!
These videos are extensive and provide all the fundamentals you’ll need to create images that drop jaws every time you show them. I’ll take you through everything you need to know, step by step. We’ll cover each option and feature, why and when to use it, and all of it is described with complete, easy to understand clarity.
Basically, you’ll have the tutorial I wish I had when I first started stacking!
You’ll discover, step by step, how to prep images in Lightroom (the general techniques apply to any RAW software though, Lightroom is not required) and export them for stacking.
From there, you’ll see, (again, step by step) how to stack using Photoshop, Helicon Focus, and Zerene Stacker (each image uses a different program).
In Photoshop, you’ll learn how to stack and we’ll talk about why it’s critical to follow every step to the letter for the best results. From there, I’ll demonstrate some basic retouching techniques to make your images complete.
In Zerene Stacker, I’ll show you how to stack, we’ll talk about the differences between the PMax and DMap stacking methods, and what types of images they work best with. We’ll also cover retouching fundamentals using Zerene Stacker’s built-in retouching brush as well. We’ll look at all the various options, how to choose the best source images for retouching, and I’ll demonstrate how to use both source and pre-stacked images for retouching.
In Helicon Focus, you’ll discover how to stack, the differences between each stacking method (weighted average, Depth Map, and Pyramid), how to compare different stacks and identify issues that can cause potential editing problems later. We’ll also cover the fundamentals of using Helicon’s retouching brush to optimize and get the maximum detail from your stacked images – and how to set the brush options as well. We’ll look at multiple ways to get the results you want and we’ll cover a ton of scenarios and methods, including using source and stacked images for retouching!
In short, no matter which of the three software programs you use, you’ll come away with everything you need to know to create jaw-dropping image stacks!
Bonus! Post-Processing Videos!
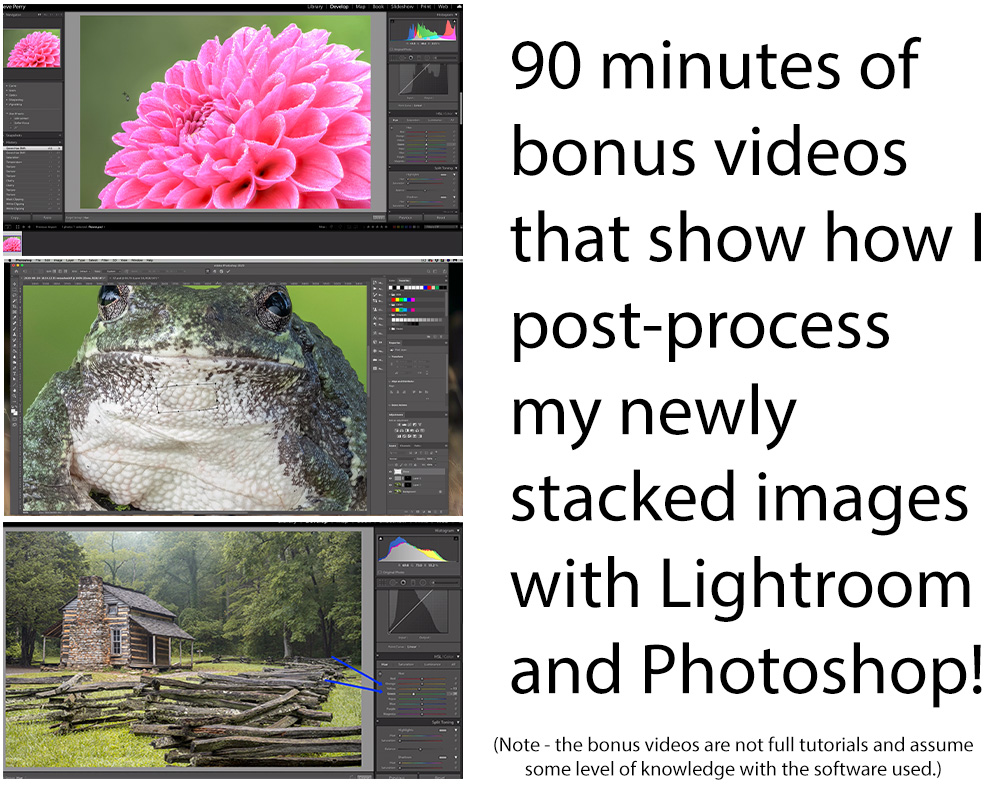
As if all the content above wasn’t enough, you’ll also receive 90 minutes of bonus video demonstrating how I take each of our stacked demo images and finish them off in Lightroom and Photoshop – although many of the techniques will also apply to other processing software as well.
Finally, if you’re still on the fence, think of it this way…
So many times we spend countless hundreds or even thousands of dollars purchasing gear that we hope will help us create more powerful images.
The truth is, gear is only a small part of the equation. Amazing imagery comes from YOU – the person standing a few inches behind the viewfinder. Once captured, it’s then time to take what the camera puts out, stack the image, and make it match your vision.
However, when offered an opportunity to improve their photographs in a way that could make an incredible impact, people often hesitate. I know for a fact that my best images were due to hundreds, even thousands of hours spent studying educational materials – materials that only cost a small fraction of what my gear does!
So, that brings us to price. I’ve tried to make this completely affordable for any photographer – just $20.97 and you’ll have instant access!
That’s basically less than lunch money for a product that could improve your photographs exponentially. Heck, even if you only discover ONE new noise reduction trick or technique that helps you output an amazing image, wouldn’t it be worth it?
Check it out, you could be enjoying this new video series in just a few minutes.
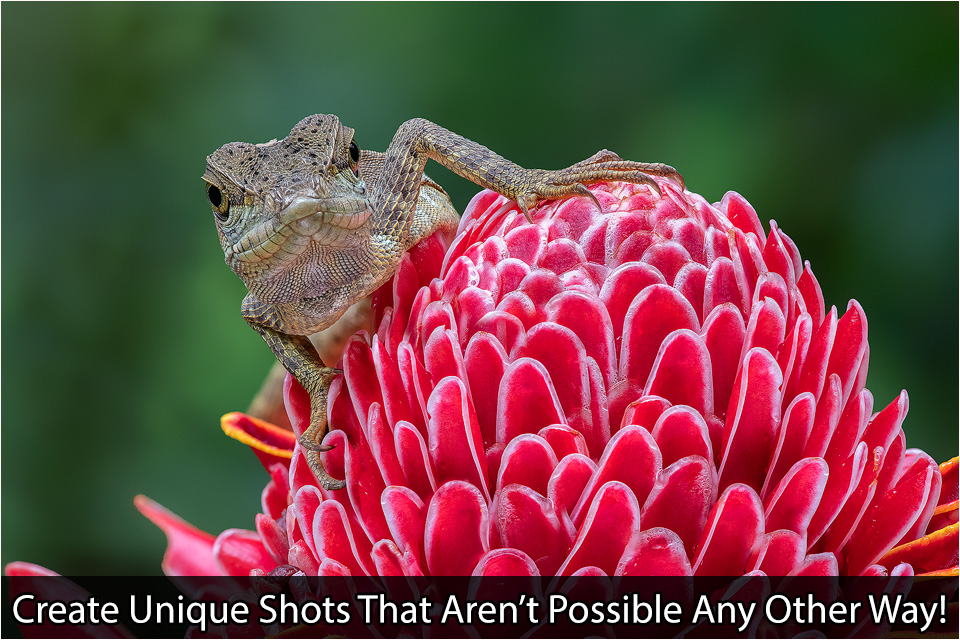
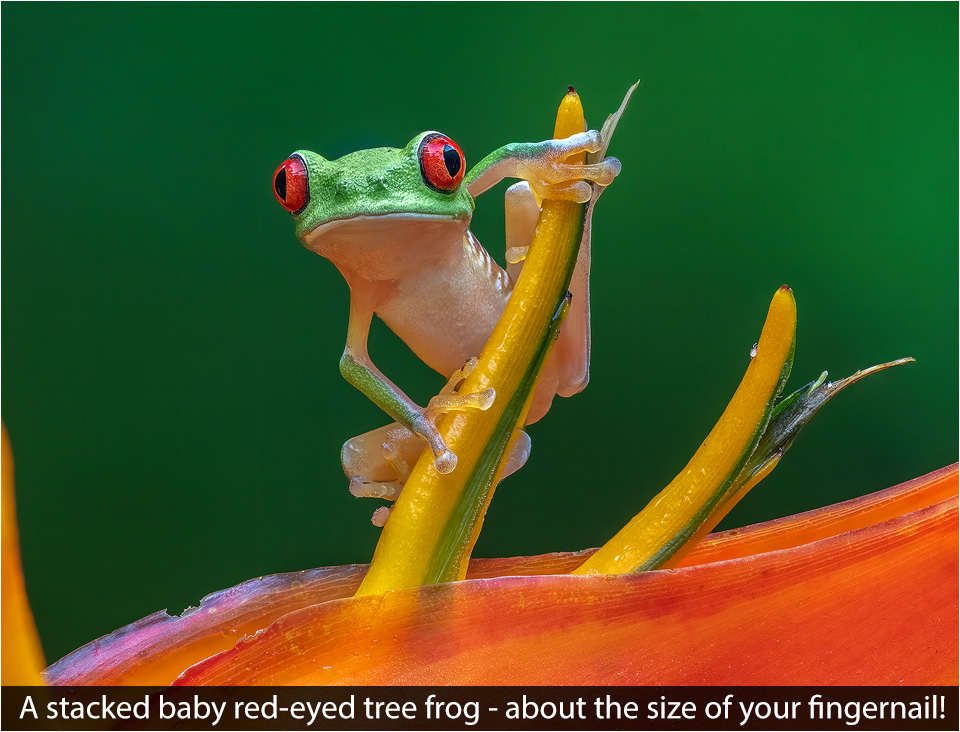
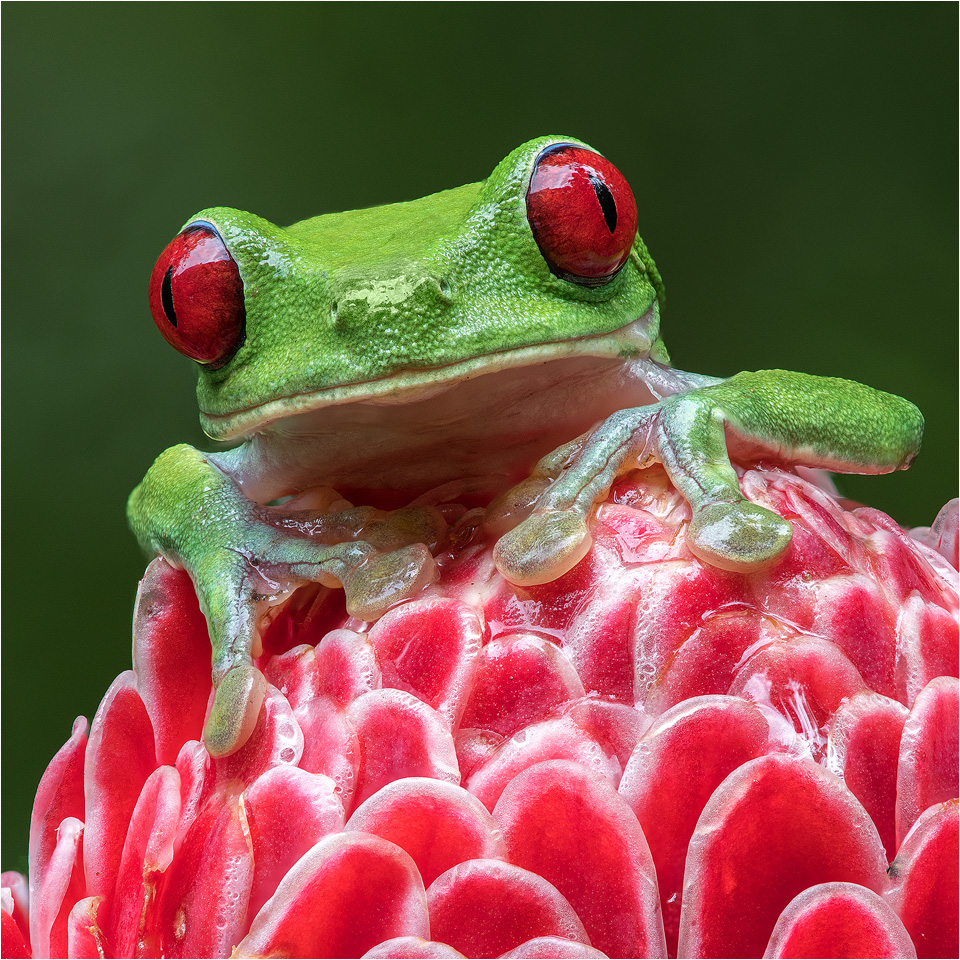
More Stacked Examples
Here are a few more of my favorite image stacks to give you an idea of what you’ll be able to do once you complete this course.

Video Breakdown
20 Videos – Nearly 6 Hours Of Content!!
Below you’ll find a brief overview of what you’ll learn, however, keep in mind that this is only a small part of it – it’s just too much to cram onto one webpage!
Part 1 – Getting Started With The Fundamentals
Intro And Basics (2 videos)
- Intro to the course
- Discover exactly what Focus Shift Shooting is
- Learn what Focus Stacking is – and how Focus Shift Shooting makes it easy
- Why focus stacking gives us perfect sharpness compared to stopping down
- How diffraction kills sharpness – and how stacking saves it
- Why stacking is better for both landscape and macro shots
- Discover the secret to getting better macro backgrounds with focus stacking
- How the speed of Focus Shift Shooting has changed the game for focus stacking
- Key indicators that you should stack
- Warning signs that stacking is a bad idea
Field Setup & Tips (5 videos)
- What lenses work – and which ones don’t
- Tripods – yes or no?
- Discover the importance of image alignment
- Learn about VR and Focus Shift Shooting
- How to handle a common compositional challenge unique to focus stacking
- How to pick the best exposure mode for Focus Shift Shooting
- Why exposure can change even if the light doesn’t
- The benefit of live histograms
- How to read histograms
- How to set your camera to show live histograms on the LCD
- What the light has to do before you can shoot any stack
- How to pick the ideal F/stop every time
- Which F/stops to use for faster stacks
- Picking the ideal shutter speed for every stacking scenario
- Balancing ISO, shutter speed and F/stop for various types of shots.
- Accessories you’ll love if you’re doing macros
- How to set peaking levels and colors for your camera
Menus (1 video)
- Menu settings that can disable Focus Shift Shooting
- The crazy (but smart) way to pick the number of shots you need
- Finally learn how to set the focus step width!
- The only setting you should use for your interval between shots
- How flash affects your choices
- First Frame Exposure Lock – yes or no?
- Learn how to use the Peaking Stack Image (Z cameras)
- How silent photography can help you nail better shots (it’s not what you think)
- Why the Storage Folder option is not your friend
Part 2 Field Techniques & Post Processing
Field Techniques For Landscape Photos (1 video)
- How to evaluate the scene for stacking – does it need it?
- How to pick the best F/stop for the scene
- The key to determining the best ISO
- Critical shutter speed considerations
- The bullet-proof trick to setting the near focus point
- Checking and verifying your menu settings
- The cool trick that takes the guesswork out of the number of shot setting
- Proper menu setup for the step width, interval, silent shutter, peaking stack image, etc.
- Using the live histogram for a perfect exposure
- The one thing you must do while the camera shoots
- How to verify you have a good set of images to stack
- Using the peaking stack image to verify your focus range
- The simple trick for keeping track of multiple stacks
Field Techniques For Macro Photos (2 videos)
- Dealing with static subjects vs active ones
- Evaluating the shot to see if it requires stacking
- How to determine if the situation allows for stacking
- Basic camera and lens setup
- The one accessory you should NEVER use for small animals
- Keys to determining the best F/stop (balancing multiple considerations)
- Why / when you should sometimes use a smaller F/stop for small animals / insects
- How to set the perfect shutter speed for your macro subject
- Why you should use a reflector and not a flash for outdoor work and stacking
- Learn the tricks for balancing all three exposure settings for the best result
- How to use a polarizer for jaw-dropping results with reptiles and amphibians
- The critical macro focus technique that will make or break your stack
- How to compose based on focus
- Tricks for determining the perfect focus point
- A key accessory to use when the subject is in motion due to a light breeze
- Why you have to be extremely careful of the areas that are out of focus
- How focus distance and blur can affect exposure readings
- Setting the number of shots, focus width, and other menu settings
- The critical thing you must do during exposure
- The sneaky trick to fixing the problem of not setting enough shots
- How to verify you have everything you need for your stack (what to look for)
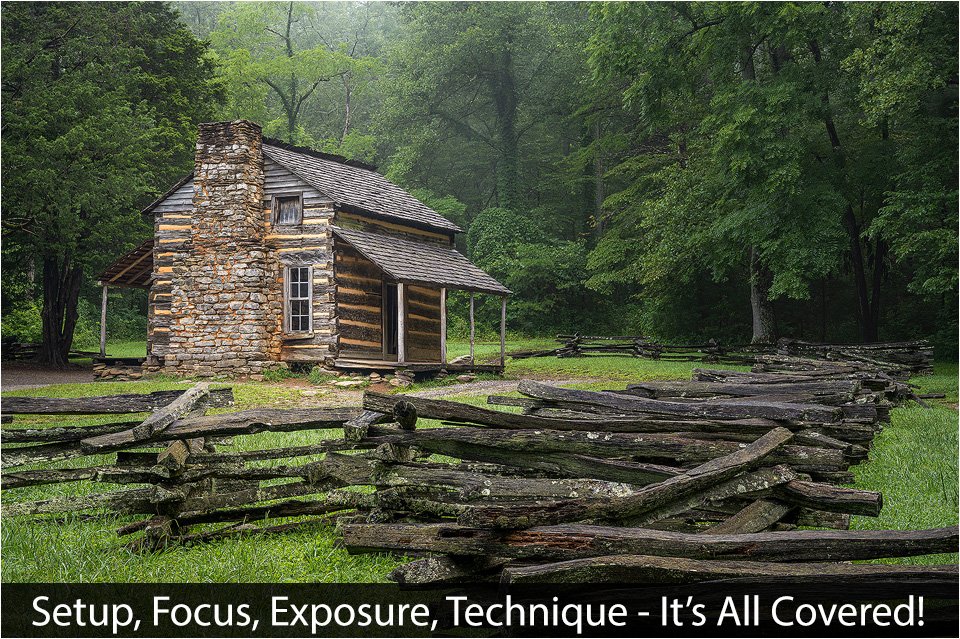
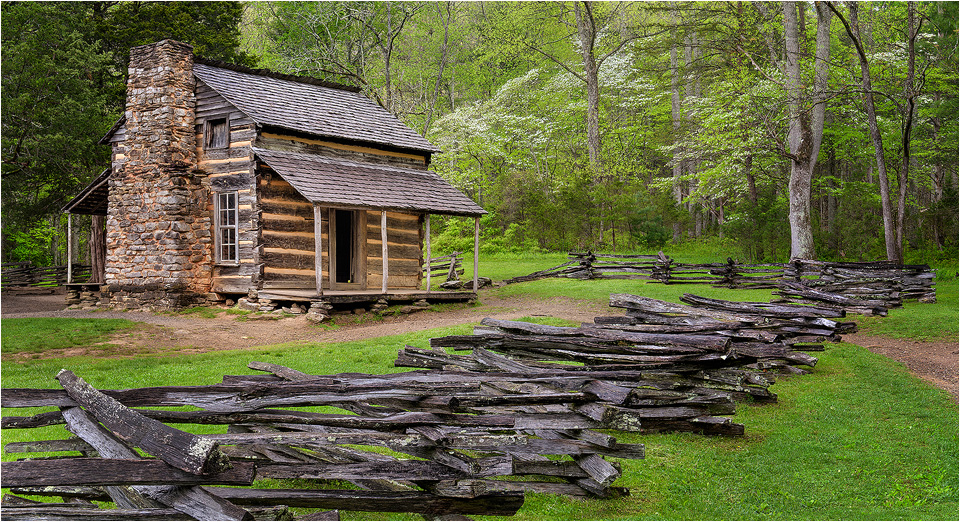
Stacking / Post Processing Techniques – Photoshop (Cabin – 1 video)
- How to pick just the necessary images from your field work for the stack
- Learn the best way to prep images for stacking – and what NOT to do!
- How to get images from Lightroom to layers in Photoshop – the easy way
- How to get images to Photoshop without Lightroom
- The easy way to align all the layers in Photoshop
- What the align layers options does – and why it’s CRITICAL for stacking (it’s not what you think)
- How to stack the images – and all the settings you should use for best results
- Tips for cleaning up the stacked image in Photoshop
- Clone stamp settings for easy cleanup / retouching
- Using the layer makes Photoshop created for retouching
Stacking / Post Processing Techniques – Helicon Focus (Flower 2 videos)
- How to pick just the necessary images from your field work for the stack
- Learn the best way to prep images for stacking – and what NOT to do!
- Why you should export as TIFFs from your RAW processor and what settings to use
- Learn multiple ways to get your images into Helicon Focus (and the best way)
- Unlock the difference between the stacking methods (Weighted Average, Depth Map, Pyramid)
- Discover which stacking method works best for a given type of image
- Why you should try multiple stacking methods
- Learn what the Radius and Smoothing controls do
- Compare the differences between stacking methods
- How to compare different stacks and choose the best one
- Unlock the power of Helicon’s retouching brush
- Learn the basics of retouching using source images
- See how the erase brush works
- Learn how to set color tolerance on the retouch brush
- See various retouch methods in action
- Discover how you can use other stacked images as source files
- Learn how to use the clone tool in Helicon Focus
- How to use the Clone area, Paint with patter, and Texture options
- See how the clone tool works as we retouch our image
- How to save the final, retouched image
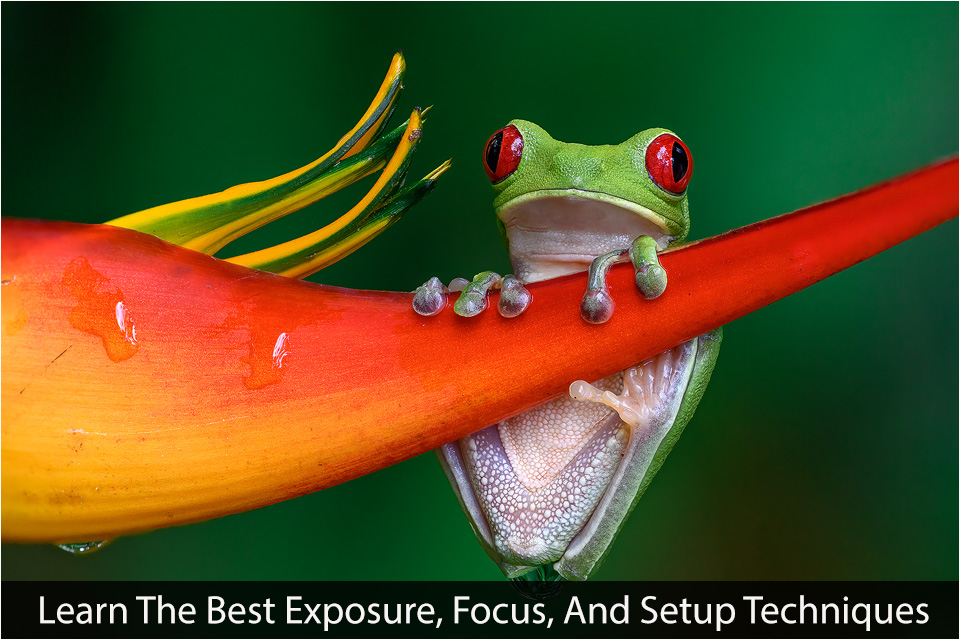
Stacking / Post Processing Techniques – Zerene Stacker (Frog – 2 videos)
- How to pick just the necessary images from your field work for the stack
- Learn the best way to prep images for stacking – and what NOT to do!
- Why you should export as TIFFs from your RAW processor and what settings to use
- Getting photos into Zerene
- Choosing between PMax and DMap
- Know which stacking method to use – or when to use both
- Unlock the power of the DMax Contrast Threshold adjustment
- Learn to compare stacks and pick the best output
- Discover the power of Zerene’s retouch brush
- Learn cool ways to adjust the brush and choose source images
- Watch how retouching is done with Zerene, step by step
- Discover how you can use other stacked images as your source files
- See how to save the final output image
Bonus Videos (4 videos )
- Watch how I retouch and process the demo images using Photoshop and Lightroom
- Lots of clone tool examples (simple and advanced)
- Using color layers in Photoshop
- Local sharpening examples
- Lightroom post processing examples
- Lightroom brush to radial gradient examples
- And tons more!
Ian Douglas (verified owner) –
I bought this video workshop as I was finding it hard to understand the focus stacking facility on my D850. I was unsure how and what to each setting might be set to to achieve my aim. Also I am actually fairly experienced in as much as I have owned a Stackshot for at least 10 years! Steve covers both Helicon Focus as well as Zerene Stacker (the two leading stacking programs in my humble opinion) and since I own both of these any additional training is very welcome. Prior to the D850 I did my stacking via my software and a laptop tethered. Not really practical for the outdoors (especially on rainy Dartmoor UK). However following having watched most of the course I am now prepared to use just the D850 to stack.
Steves style and coverage in the videos is both engaging, informative and extensive. For the price I paid this video workshop is outstanding!
I thoroughly recommend it to those using the covered Nikon cameras. Also I know from experience of Steves Ebooks that he updates his products to include new cameras so no fear if you are waiting for the Z6 and Z7 mark II or the 60 megapixel (in my dreams) Z9!
Eric Forrest (verified owner) –
Steve: Your teaching style is excellent. I watched the entire focus stacking course in one sitting. Such a great value, such a great tool to help my photography. Like all of your training, world-class.
Raymond Litschgy (verified owner) –
I just started this program on Focus Shift Shooting, so I can’t say yet how truly informative it is, but I can give Steve and his publications a big two thumbs up. I’m no stranger to Steve’s work as I have purchased five of his programs to date and have always found them to be excellent resources. This topped with the support that Steve gives you regarding his work when you need it, is a winning combination. You can’t lose buying any of the publications Steve has produced. Thanks Steve.
Robert Wheeler (verified owner) –
You don’t have to own one of the cameras with built-in focus shifting to get high value from this educational program. The depth and breadth of specific pointers for decisions involved in focus stacking apply regardless of camera. Steve hits to topics that other education sessions often miss. You don’t even need a Nikon camera to benefit. If you do have one of those cameras with focus shifting built in, all the better. But the course price is a bargain for what you get even if using other cameras. Highly recommend to anyone interested in focus stacking. Just buy it and enjoy.
James Whatley (verified owner) –
Some people have a natural ability to teach and Steve is one of those people. If you want to learn about focus stacking this is the go to video. I thoroughly enjoyed the learning experience, which is how it should be. I look forward to more videos, which I am sure are hard work to produce to attain this level of professionalism, but well worth it for us. Thanks.
Richard Murray (verified owner) –
I highly recommend this video workshop for anyone doing macro or landscape photography. The benefits of focus stacking cannot be understated, certainly for macro work, and Steve provides an easy to follow step by step guide to nailing focus stacked shots. Once again, Steve provides another excellent and highly informative video workshop. Thank you
jsandrin (verified owner) –
Thorough, well paced and presented training on how to use this outstanding capability in our cameras. Steps and examples were easy to follow and demonstrated how to make it work. The added bonus videos also are a great way to show how the pieces all work together. Steve is a good teacher, a clear speaker and he shows how rather than just telling how.
I have been shooting focus stacked shots for several months and trying to figure out how to avoid or deal with the various issues that arise. The videos do a great job of explaining how to minimize the issues and.or correct for them in post. Well done and more than worth the nominal cost!
Larry Baumgardt (verified owner) –
I have a Z7 and Z6 and formerly owned a D850, and this is the first time I feel like I really understand focus shift shooting. This is really an outstanding series of videos and a tremendous value compared to most photo instruction videos available on the internet. Just buy it…you won’t be sorry!
Thanks, Steve!
Tom (verified owner) –
Whenever Steve publishes educational material, I’m always all in. Even if I I think I understand a topic well, Steve always surprises me with a new, and very useful technique that I’m able to incorporate into my workflow. The Focus Shift Shooting Workshop provided many such kernels of knowledge for me. Well done Steve!
Leon Kolenda (verified owner) –
Steve’s Focus-shift tutorial, is great! Easy to understand, and what I love about it is, it completely fills in all the gaps that the Nikon Manual, HaHa, and even a few of the Nikon guides. I also like that Steve seems to always, keep these tutorials updated to new cameras and Firmware upgrades. Good stuff, and a Great bargain to say the least!